CTEK Multi XS 7000 User Manual
Browse online or download User Manual for Battery chargers CTEK Multi XS 7000. CTEK Multi XS 7000 User`s manual
- Page / 14
- Table of contents
- BOOKMARKS
- BATTERY CHARGER 1
- MULTI US 7000 1
- INTRODUCTION 2
- IMPORTANT SAFETY INSTRUCTIONS 2
- BATTERY MAY CAUSE BATTERY 5
- NEAR BATTERY: 5
- IMPORTANT SAFETY INFORMATION! 6
- CHARGING 6
- BATTERY TYPES AND SETTINGS 8
- CHARGING CYCLE 10
- INDICATORS 12
- BULK CHARGING TIME 13
- TECHNICAL DATA 13
- LIMITED WARRANTY 14
- OVERHEATING PROTECTION 14
- BATTERY CABLES 14
- MAINTENANCE 14
Summary of Contents
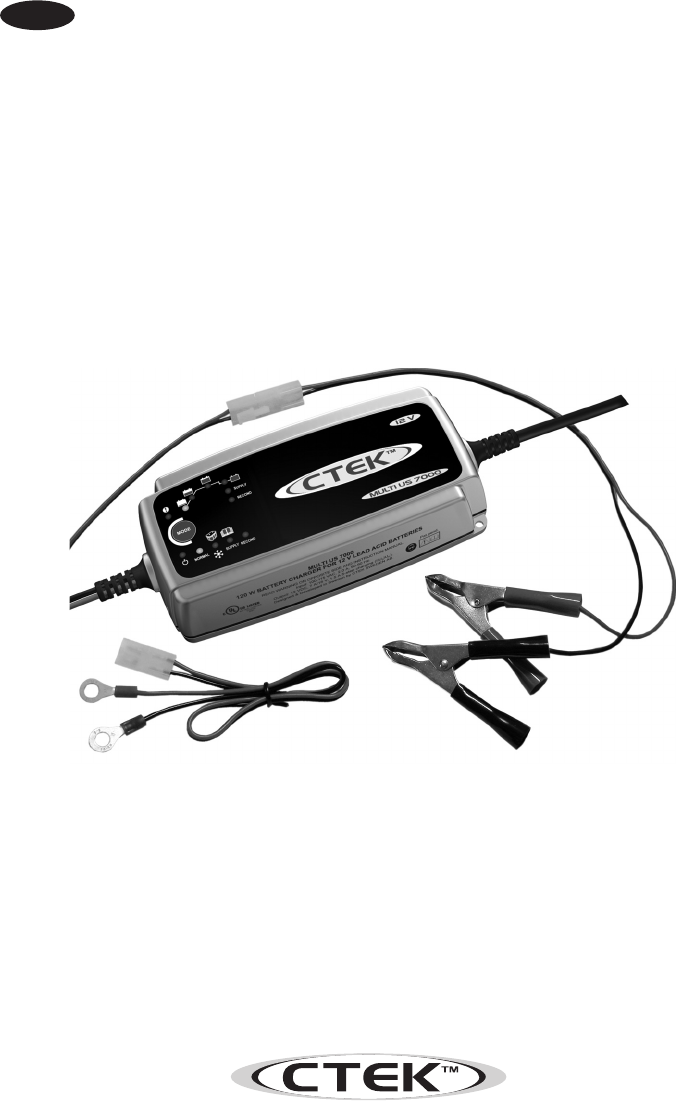
Switch ModeBATTERY CHARGERFor lead-acid batteries 14-150 AhMULTI US 7000User’s Manual and a guideto professional battery chargingFor Starter/Deep Cycl
10CHARGING CYCLEVoltage/CurrentVoltageTimeCurrentBulkIoStartIsAbsorptionUoPulseUpSupplyUoRecondISetting: 14.4 V or 14.7 VMULTI US 7000 performs a 5-st
11If the battery is charged and/or the battery's terminal voltage drops below 12.9 V the char-ger starts a charge pulse of 5A until the terminal
12INDICATORSSUPPLYNORMALSUPPLYRECONDRECONDMODE10ABCDE23456Indication Description0 Error mode, the charger interrupts the charging/voltage supply.
13BULK CHARGING TIMEBattery size(Ah)Time to ~80% charge(h)14 250 6-790 11-13150 20-22TECHNICAL DATAVoltage AC 85-125 VAC, 50-60 Hz. Output power is r
14OVERHEATING PROTECTIONThe MULTI US 7000 is equipped with overheating protection. In high ambient tempera-tures the output power is reduced. Do not c
2INTRODUCTIONThe MULTI US 7000 is a primary switch mode battery charger with pulse maintenance. The MULTI US 7000 is designed to offer maximum life fo
311. WARNING - RISK OF EXPLOSIVE GASESa) BATTERIES GENERATE EXPLOSIVE GASES DURING NORMAL BATTERY OPERATION. FOR THIS REASON, IT IS OF THE UTMOST IMP
413. PREPARING TO CHARGEa) If necessary to remove battery from vehicle to charge, always remove grounded terminal from battery first. Make sure all a
5b) Stay clear of fan blades, belts, pulleys, and other parts that can cause injury to persons. c) Check polarity of battery terminals. POSITIVE (
6e) Do not face the battery when making the final connection.f) When disconnecting charger, disconnect in reverse sequence from connecting procedur
74. Charging a battery grounded to the positive terminal: Positive grounded vehicle Charger connection. 1. Connect negative charger clip (black) t
86. If the indicator for charge and maintenance charge are flashing alternately, this may have the following causes: • Interruption of the chargin
9CHARGINGThe battery charger must be connected to the battery according to the instructions above. Start charging1. Connect the power cord to the po
More documents for Battery chargers CTEK Multi XS 7000


Related products and manuals for Battery chargers CTEK Multi XS 7000
 (7 pages)
 (2 pages)
© 2020, manymanuals.com. All rights reserved. | 0.455 s |
 Manymanuals.com
 Manymanuals.de
 Manymanuals.fr
 Manymanuals.it
 Manymanuals.pl
 Manymanuals.cz
 Manymanuals.es
 Manymanuals-pt.com
Comments to this Manuals